

Subscription preferences connect your customers to your brand by giving them flexibility in what kind of messaging they want to receive. This increases your engagement by letting your customers choose content that is more tailored to their preferences and personal interests, and helps you learn more about your audience.
In this article, we will show how to customize your subscription types and how to add them to the marketing emails you send out.
How subscription types work?
Rather than relying solely on opt-out functionality, subscription types capture three states to clearly represent a contact's consent to communicate. For each subscription type, contacts may have any of the following three statuses:
- Opted in
- Not opted in or out (default)
- Opted out
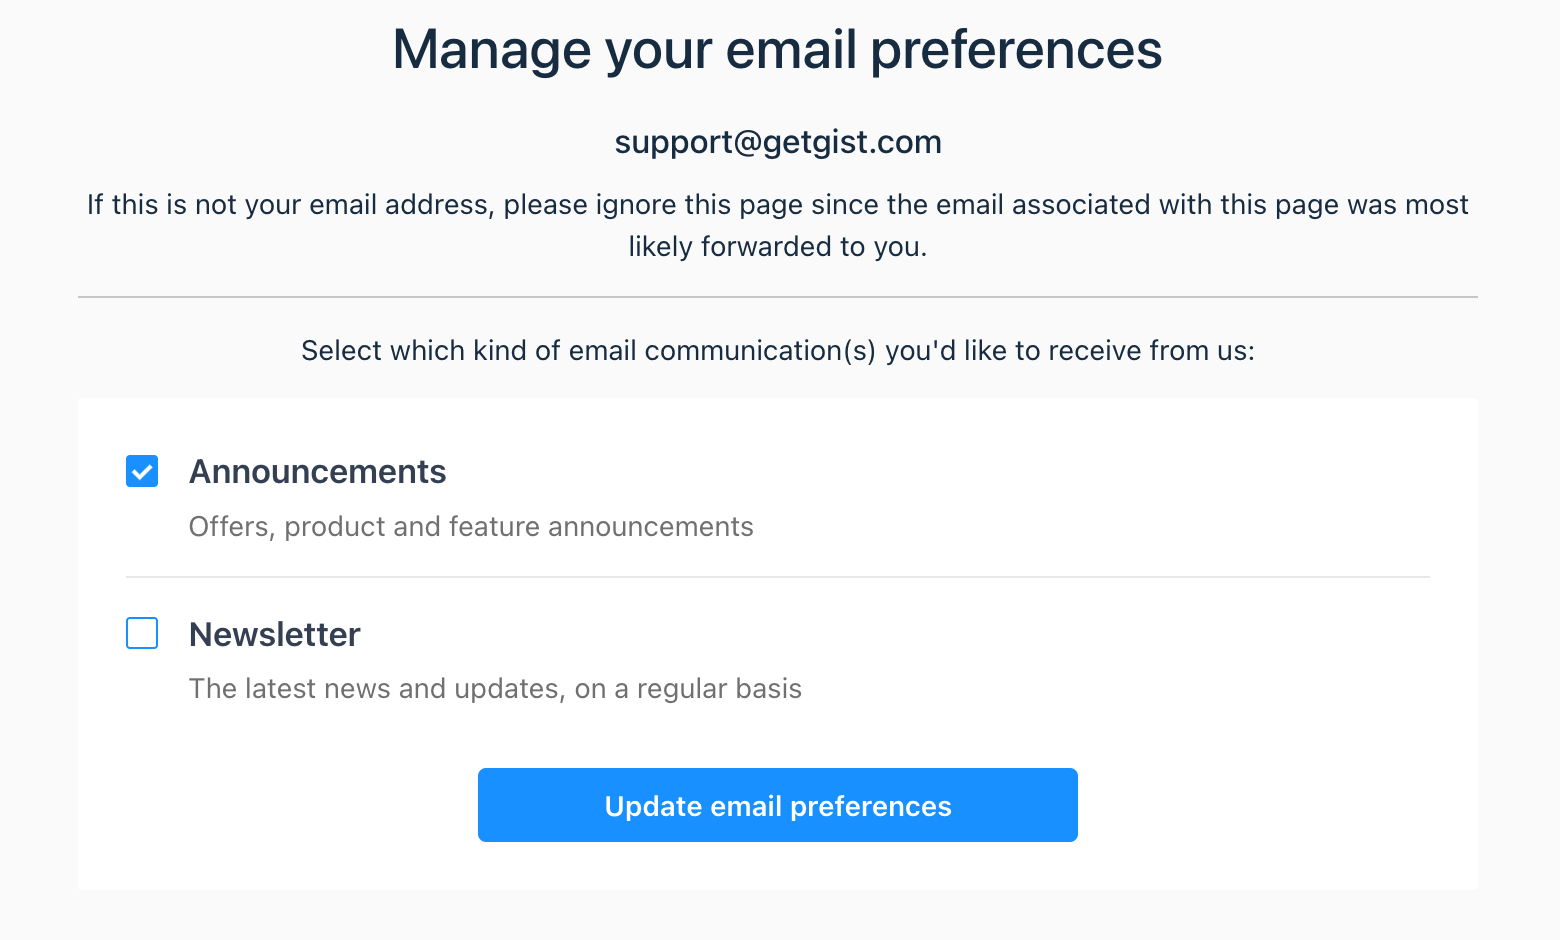
If your customers unsubscribe from an email, they’ll see all of these subscription types, and can easily choose the ones that are most interesting to them, so they don’t miss out on what’s important. And if you need to establish consent with your existing contacts, you can send contacts an email with a link to update their email preferences, or run a permission pass campaign.
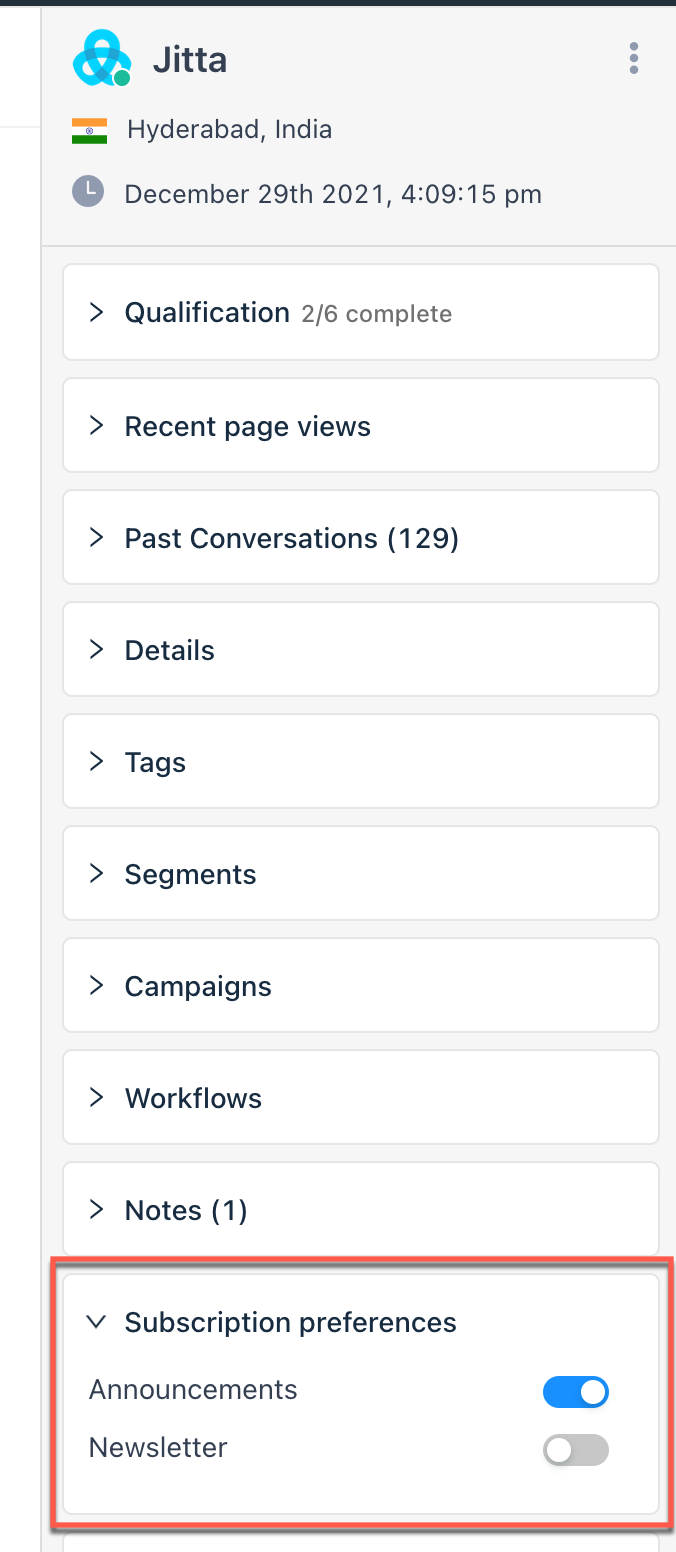
You’ll also have clear visibility from your inbox over which lists customers are subscribed to, and can help them change these preferences if needed.
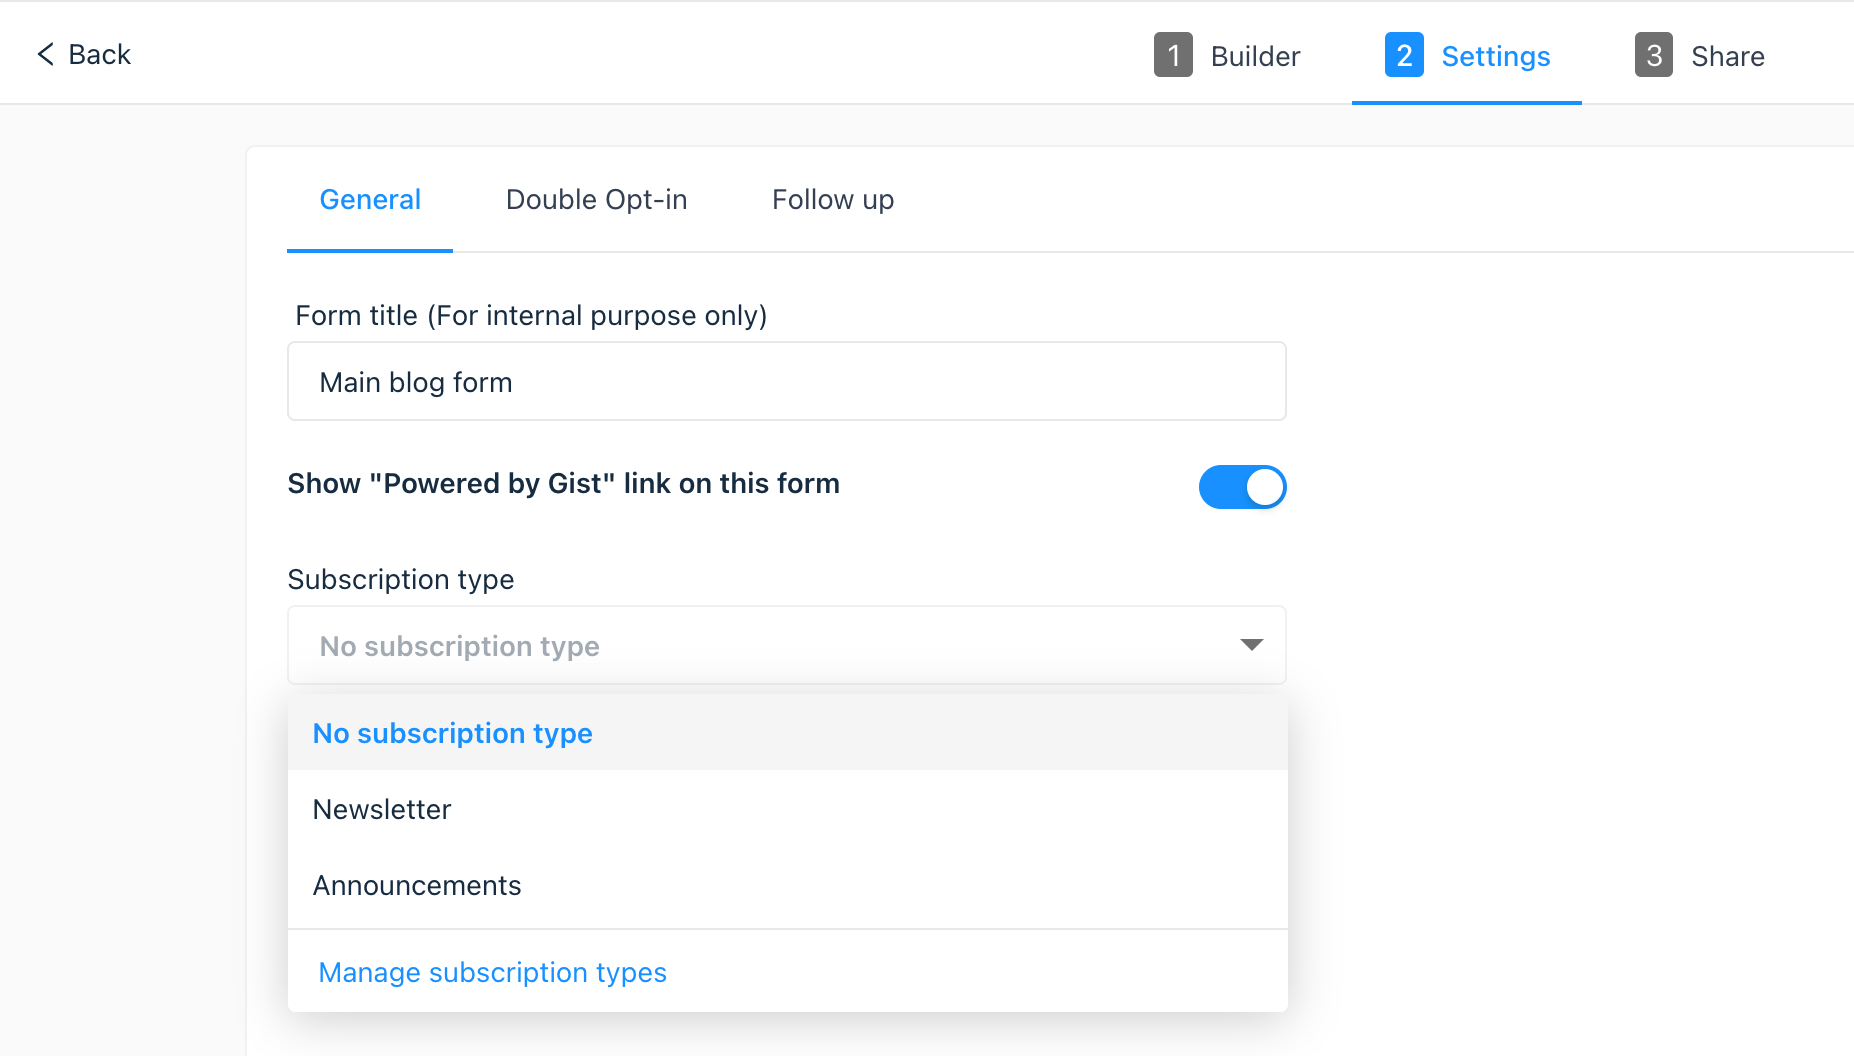
You can opt in contacts to your email subscription types through a form that includes a notice of consent for that subscription type.
Alternatively, if you have acquired opt-in consent via other means such as a third party form or your previous email marketing tool, you can update subscription preferences of multiple contacts by reimporting them using a CSV file that has their subscriptions in a separate column named "subscription_types". If a contact has multiple subscriptions, make sure they are separated by comma when importing the CSV.
You can also use Gist's JS API or REST APIs to update subscription preferences. These are really helpful if you wish to host your own custom subscription preference management form.
Example JS API code:
gist.identify({
    email: "email_address",
    subscription_types: "Announcements, Newsletter"
});
Set up a subscription type
An email subscription type can be created and managed from your settings:
- In your Gist workspace, click the Settings option in the main navigation bar.
- In the left sidebar menu, click Email > Subscription types.
- Click Create subscription type.
- Enter a name and a brief description of how this subscription type will be used.
- Click Create.
Important: For a good customer experience, the name and description of each subscription type should accurately represent the messages associated with it. If an email doesn’t fit one of your subscription types, it’s best to create a new one. This ensures your customers don’t unsubscribe for the wrong reasons, and maintains good deliverability overall.
Choose a subscription type for each email
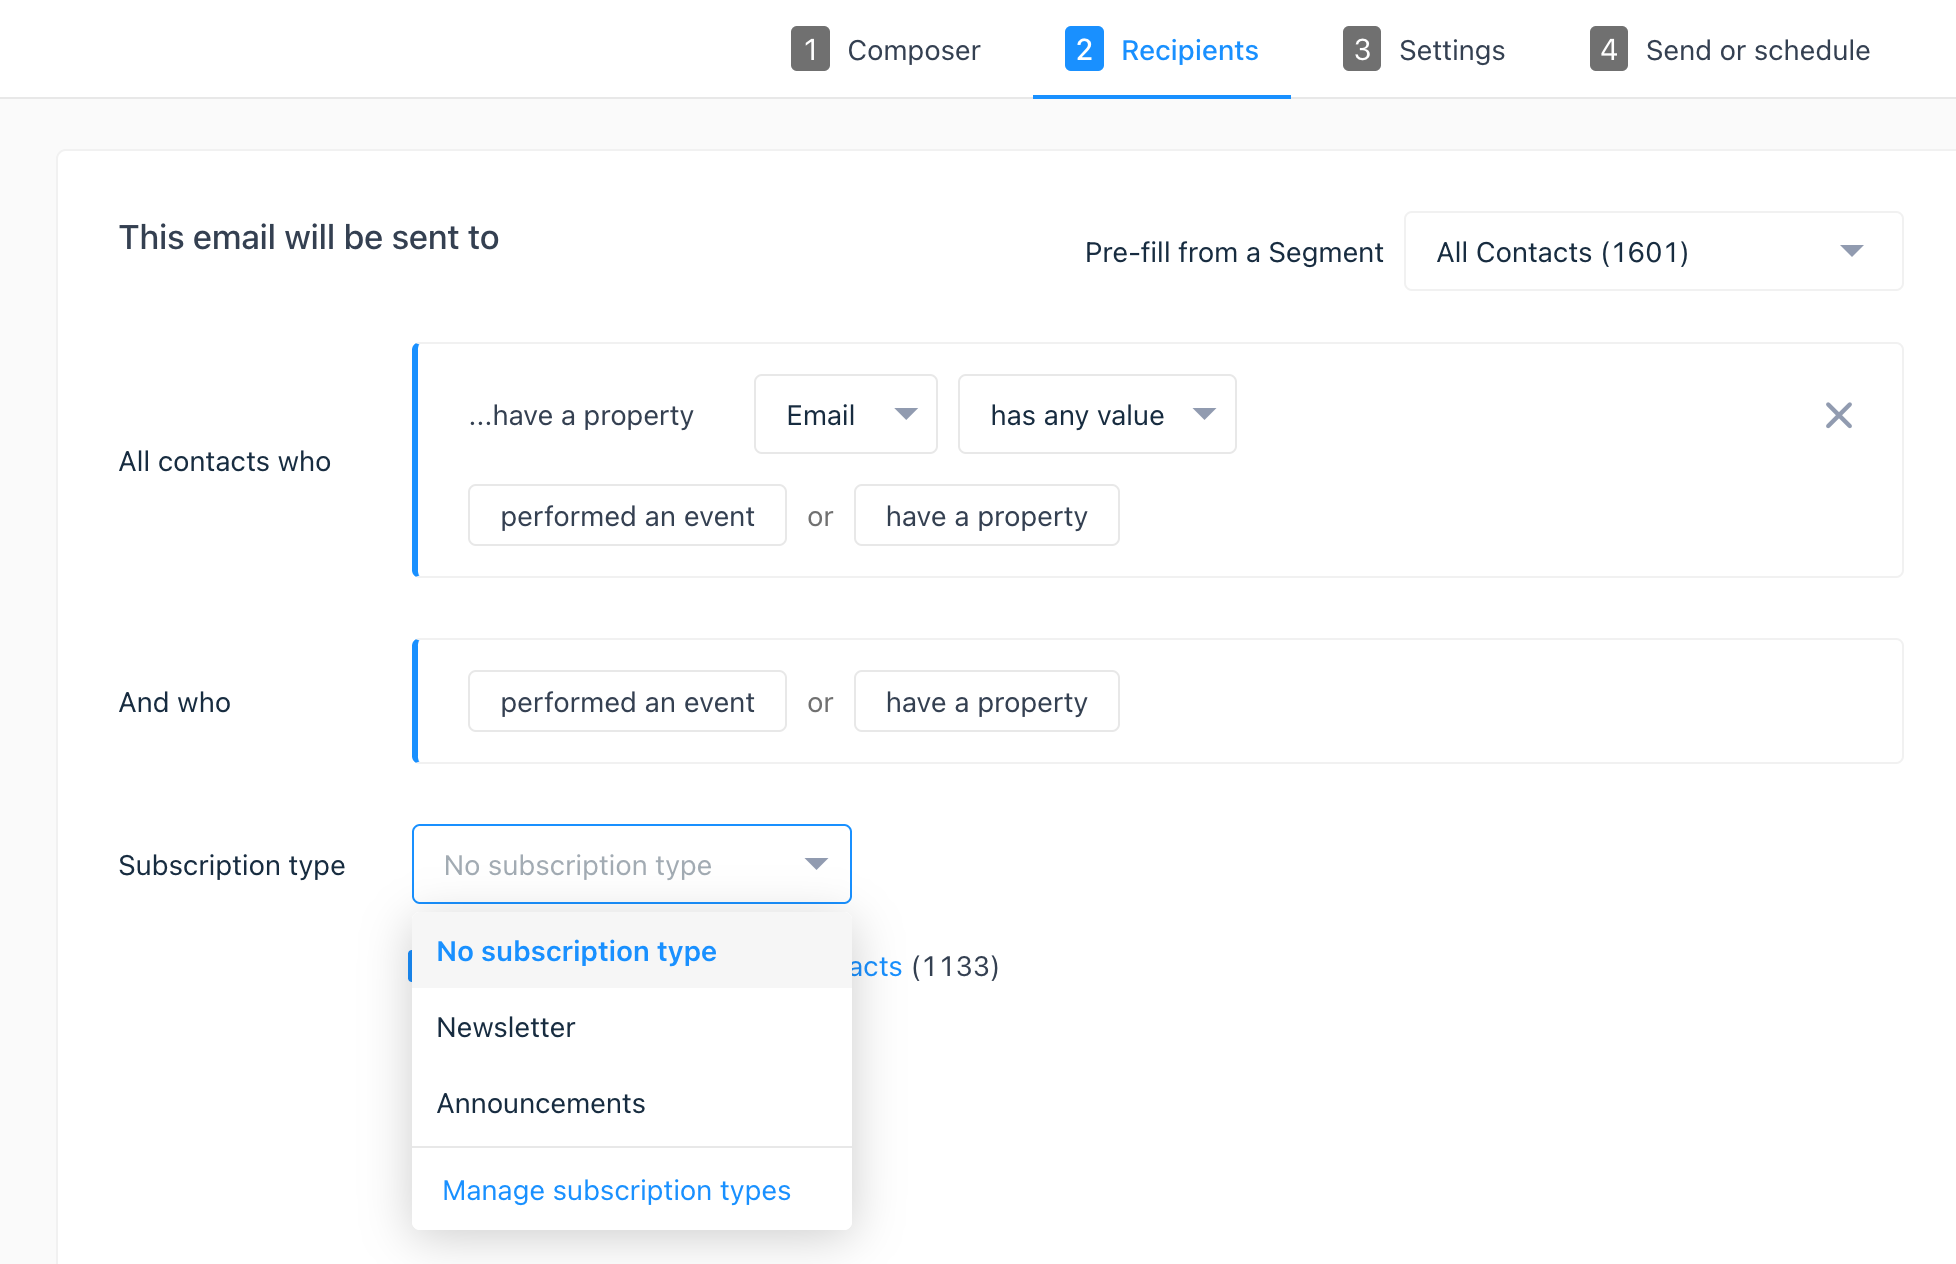
With at least one live subscription type, they can be assigned to new and existing email messages. When composing a message, select the subscription type here:
Now if a customer clicks your unsubscribe link, they’ll be automatically removed from this subscription type, and see a page where they can opt back in or manage the rest of their subscriptions:
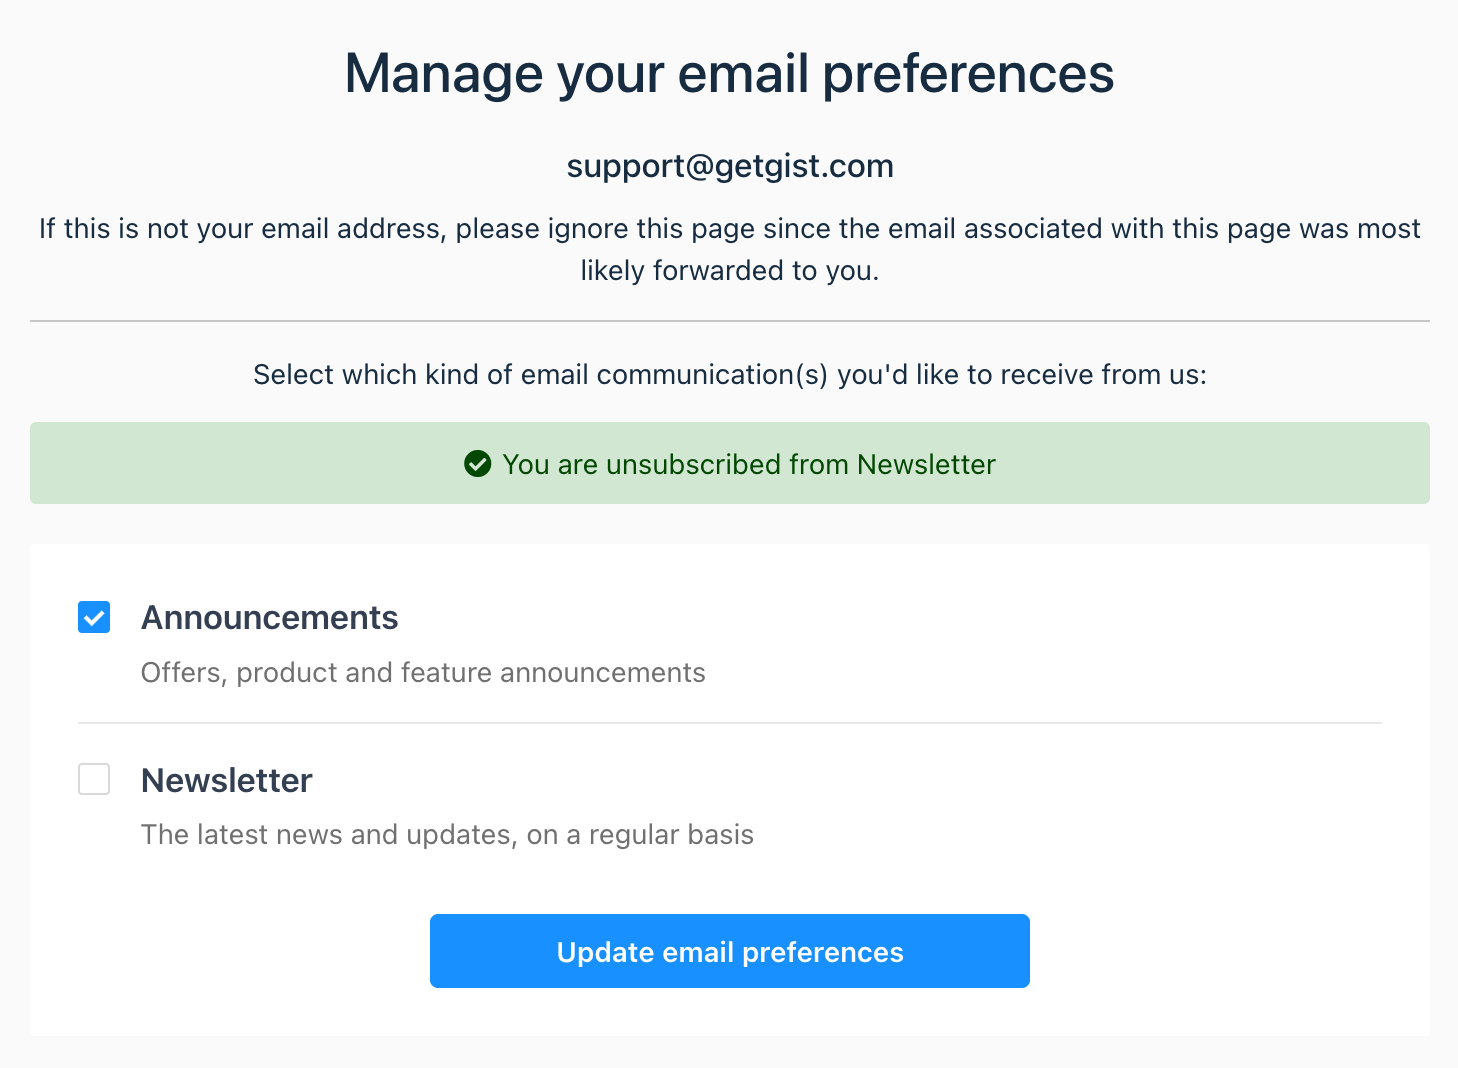
Important: If you don’t choose a subscription type for a message, when a customer unsubscribes from it, they will be unsubscribed from all marketing emails.
Manage contact property for subscription types
To see all your contacts who have unsubscribed from a particular type, you can filter for “Subscription types”. Also, you can filter contacts that are subscribed to a given subscription type using the "Subscription types" contact property. To regularly monitor the opt-outs for a specific subscription type, save the filter as a segment.