

Because not all email clients allow and render <style> tags, especially web-based clients like Gmail and Yahoo, you can't reliably use fonts that aren't already available in Gist. Our default fonts are pre-installed on the vast majority of computers and devices, so you can be confident you'll deliver a consistent experience for all people reading your emails.
If you'd like to experiment with custom fonts, however, you can enhance the fonts your recipients will see if they are using an email client that does support custom fonts.
Email clients that support custom fonts currently:
- Apple Mail
- iOS Mail (the default email browser on iOS)
- Default Android email client
Whenever you decide to use a custom font, you should always provide a fallback font in case your first-choice font doesn't render for a particular user.
Gist doesn't host fonts, but we do support ways to use hosted fonts in your templates. Google hosts a number of fonts at google.com/fonts, and you can also use fonts from Adobe Typekit, FontDeck, or another font provider if you have an account and they give you access to the font's @import embed code.
This guide will cover how to add a Google Font to an email template, as well as how to add a self-hosted custom font to a template.
Add a Google Font to Your Email
Search for your Google font here: https://fonts.google.com. Next, click on the font and click the Select This Font button on the upper right. After selecting the font, click on the Family Selected window that is minimized at the bottom of your browser. Make sure you're in the Embed tab, then navigate to @Import
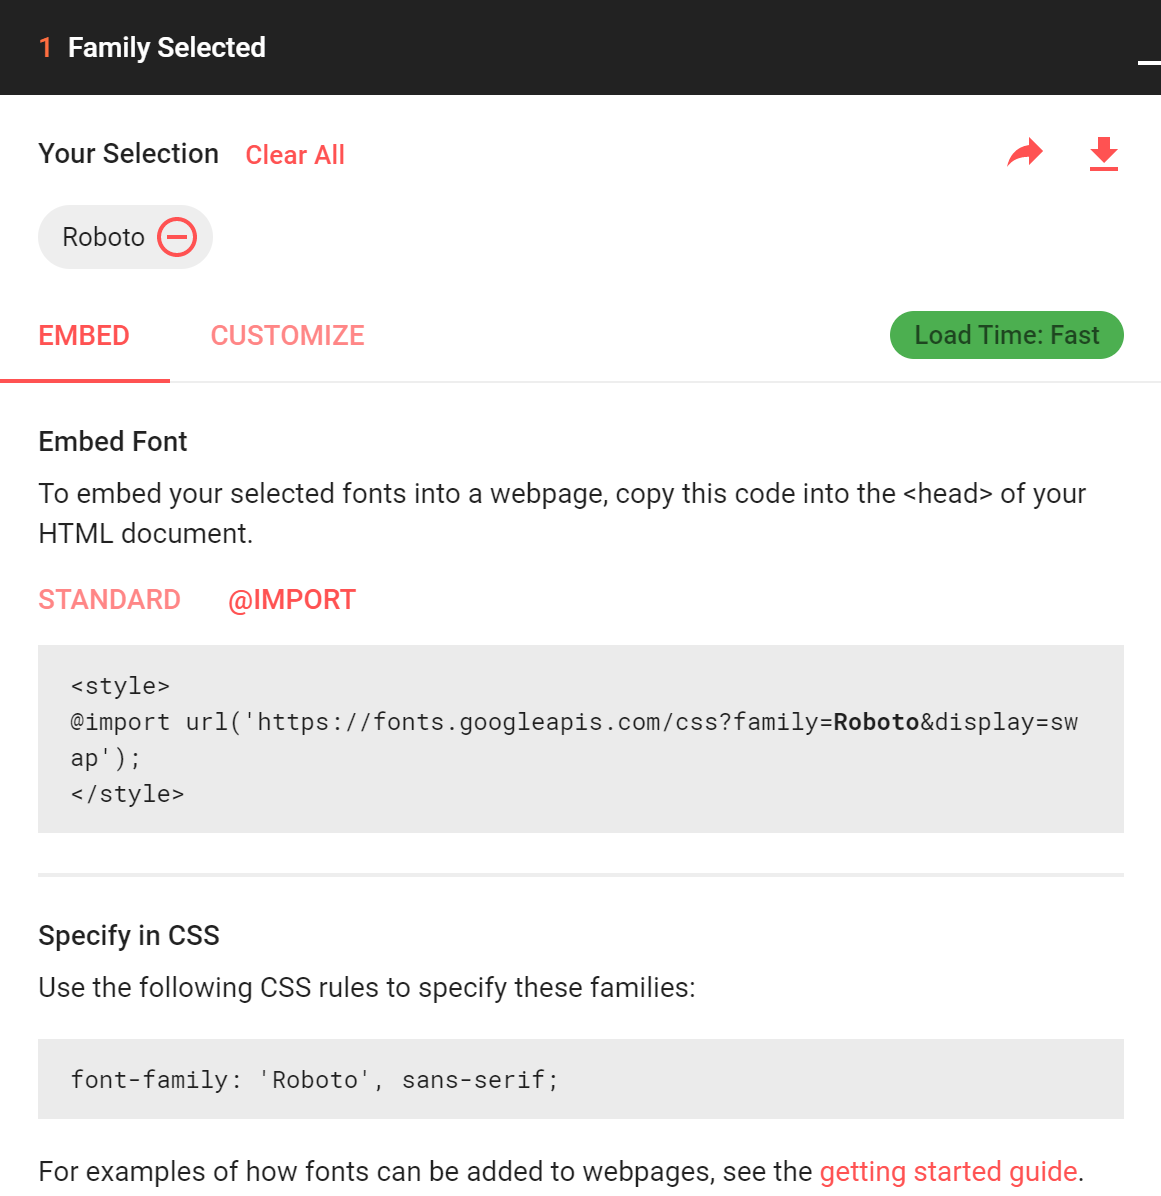
Here, you will see the import URL for the font. Copy this URL. In this example, the URL is: https://fonts.googleapis.com/css?family=Roboto.
In your email template, find and edit the first text block in your email. You only need to add this code to the first text block to your email. The subsequent text blocks will include the custom font.
Click on Source and add the following HTML. This includes the font's import URL and specifies which HTML elements will use that font:
<style type="text/css"> @import url('INSERT_FONT_URL'); p, h1, h2, h3, h4, ol, li, ul { font-family: 'INSERT_FONT_NAME', 'INSERT_A_FALLBACK_FONT'; } </style>
Once you've added the snippet to the source code, you should see that any text that has been formatted as an h1-h4, changes to the appropriate custom font setting.