

In this guide, we will provide step-by-step instructions on how to create and set up automation workflows in Gist. A well-crafted workflow can automate a series of steps your subscribers go through when they meet certain conditions, like sending a series of welcome emails or launching products.
Understanding Workflows and Email Campaigns
Workflows differ from email campaigns in their functionality. While an email campaign can only send a series of automated emails, workflows are more versatile and can incorporate other actions based on specific triggers or conditions.
Let's dive into how to create a workflow:
Step 1: Create a New Workflow
First, navigate to the Outbound > Workflows page and click on the New Workflow button.
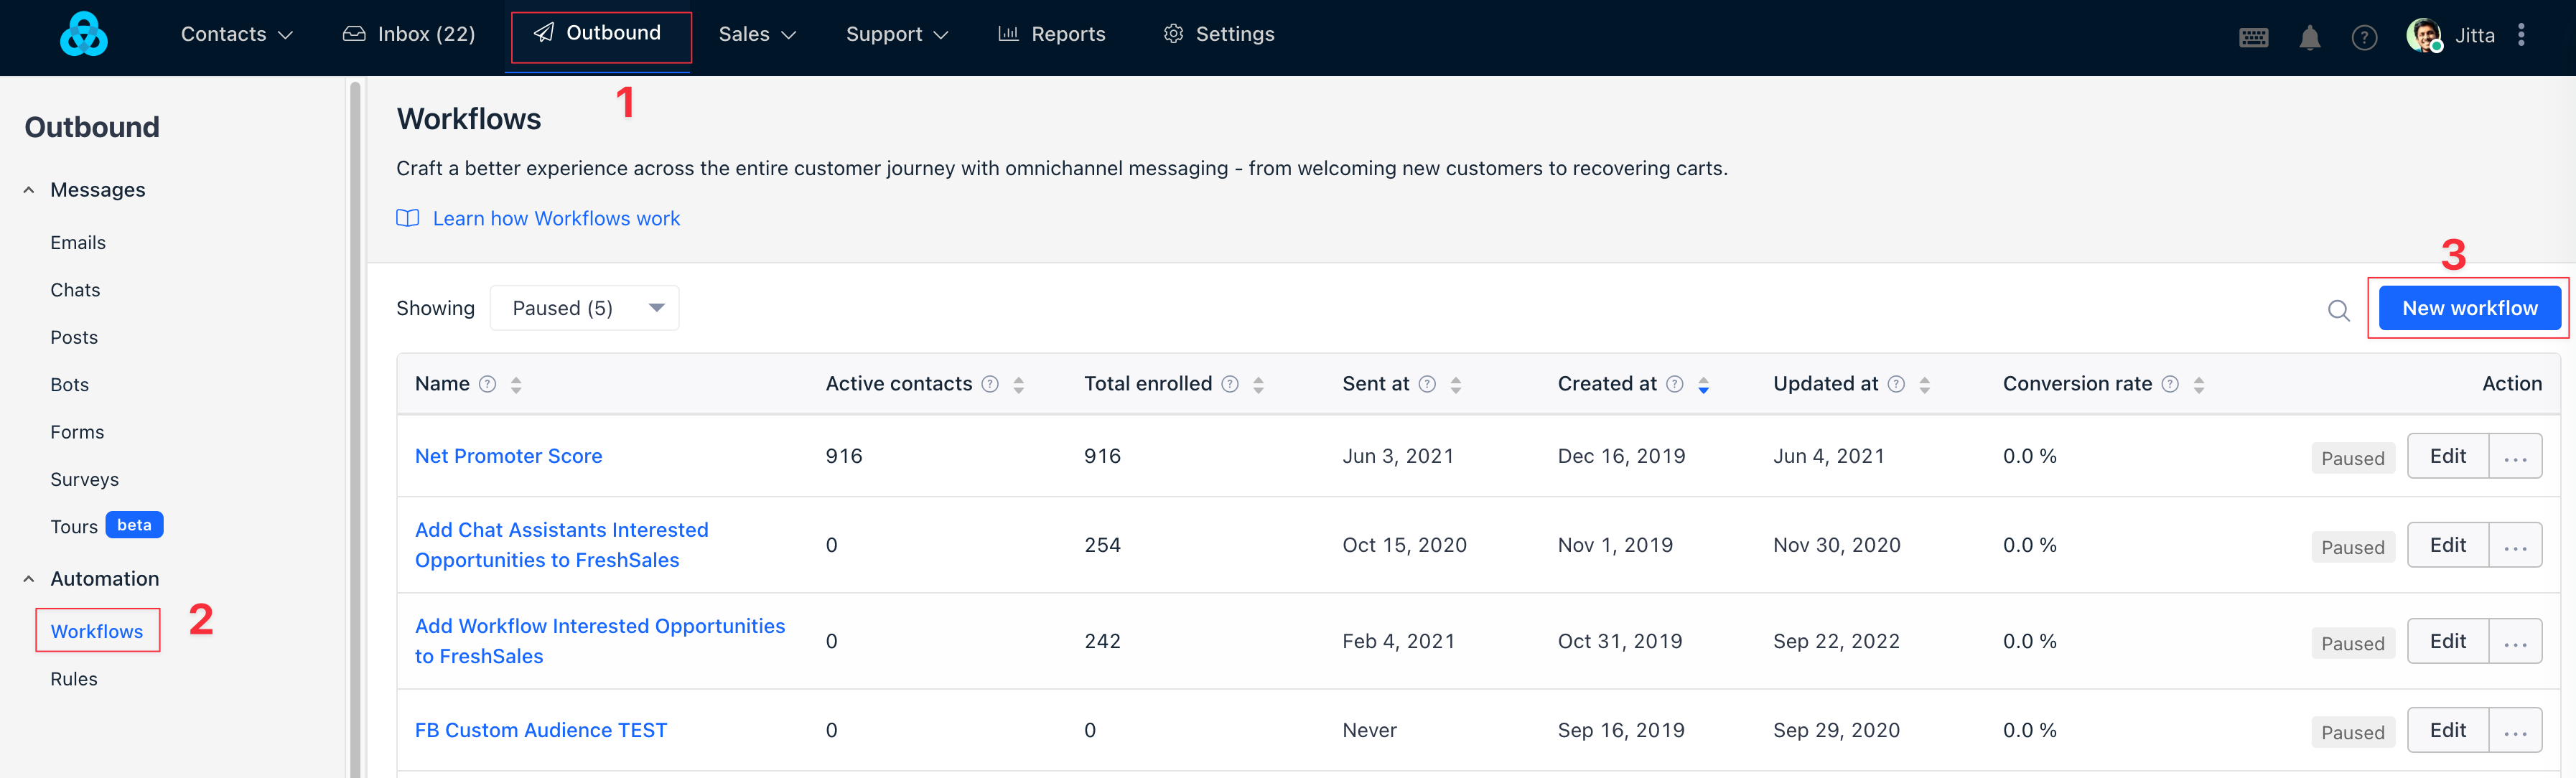
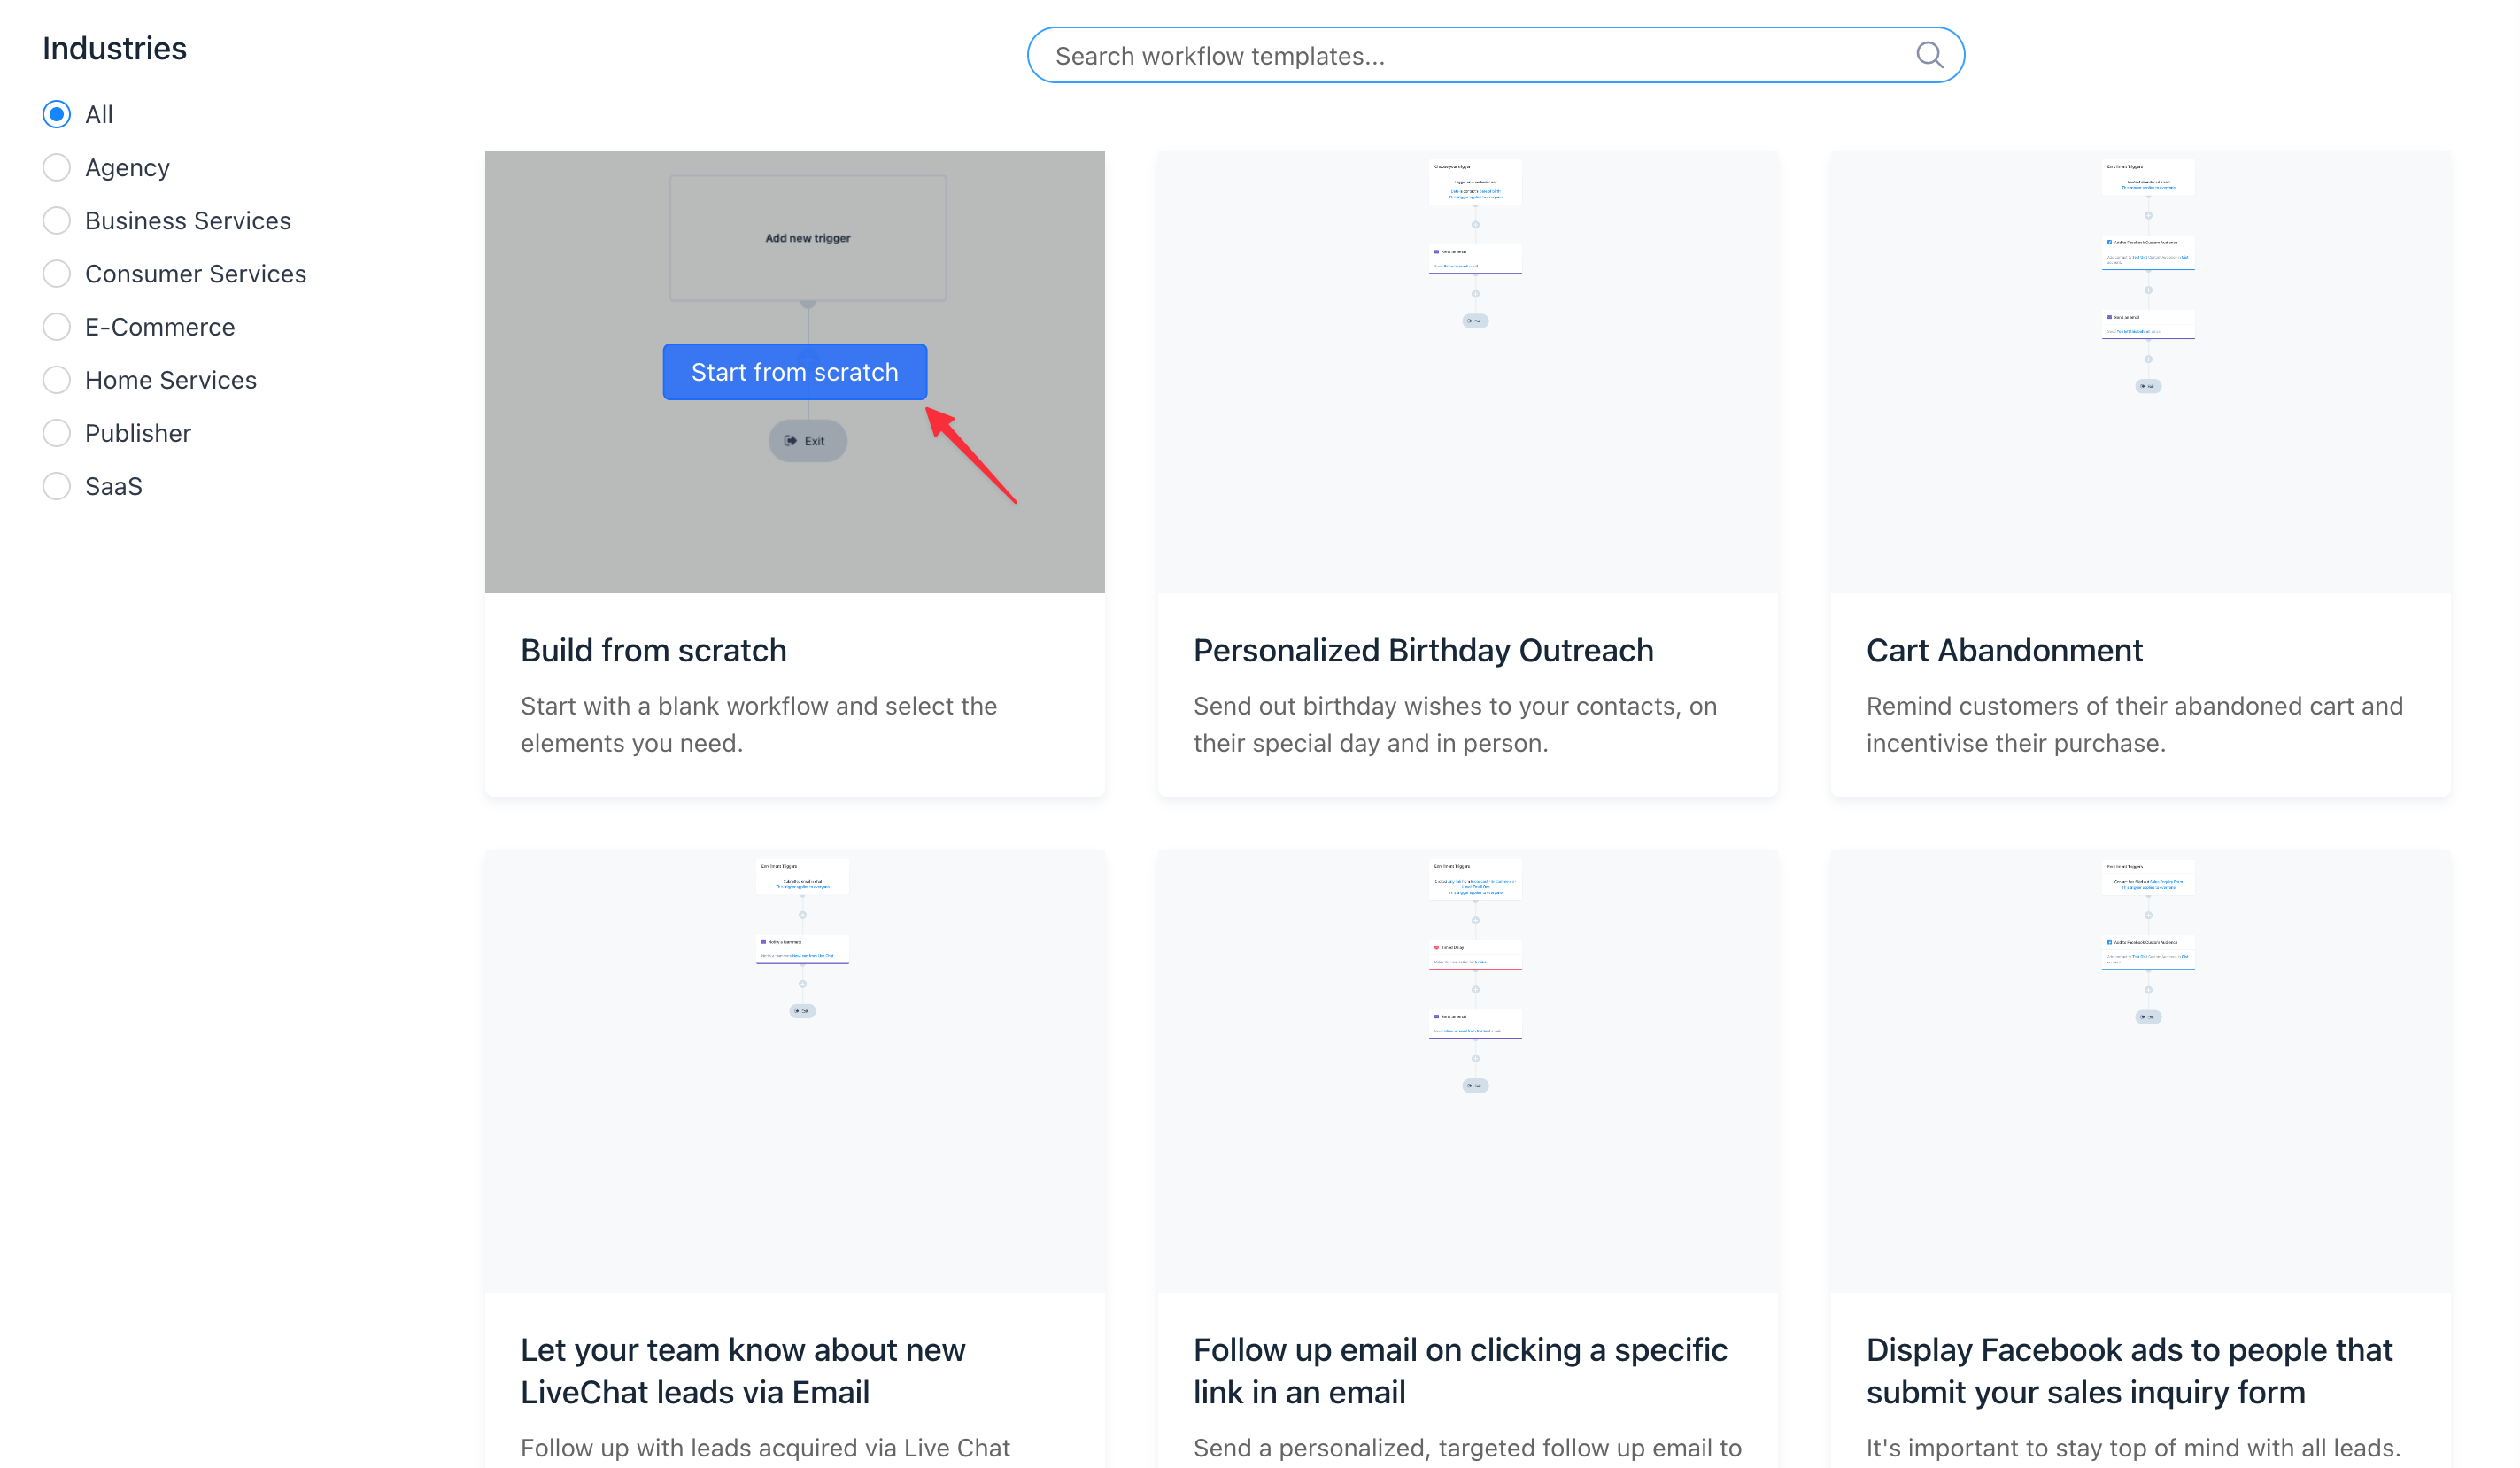
You'll be directed to a page with options to start with a workflow template or from scratch. For this guide, we'll assume you're creating a workflow from scratch. Click the Start from Scratch button, give your new workflow a name, and you're ready to choose your first entry point.
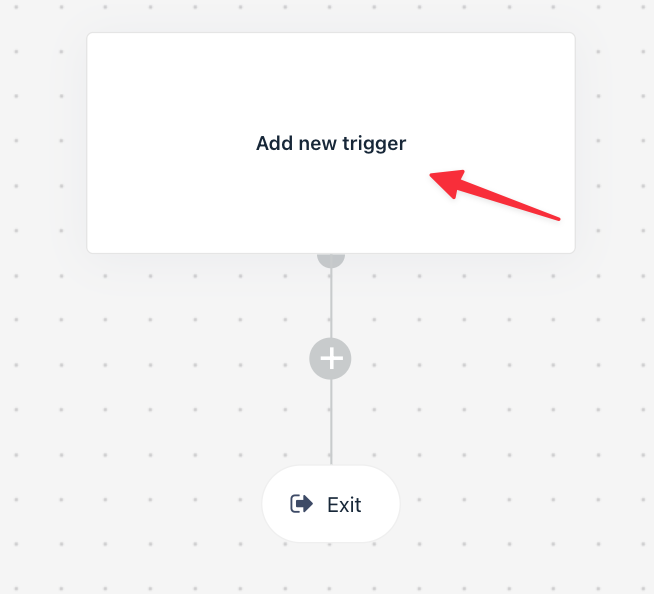
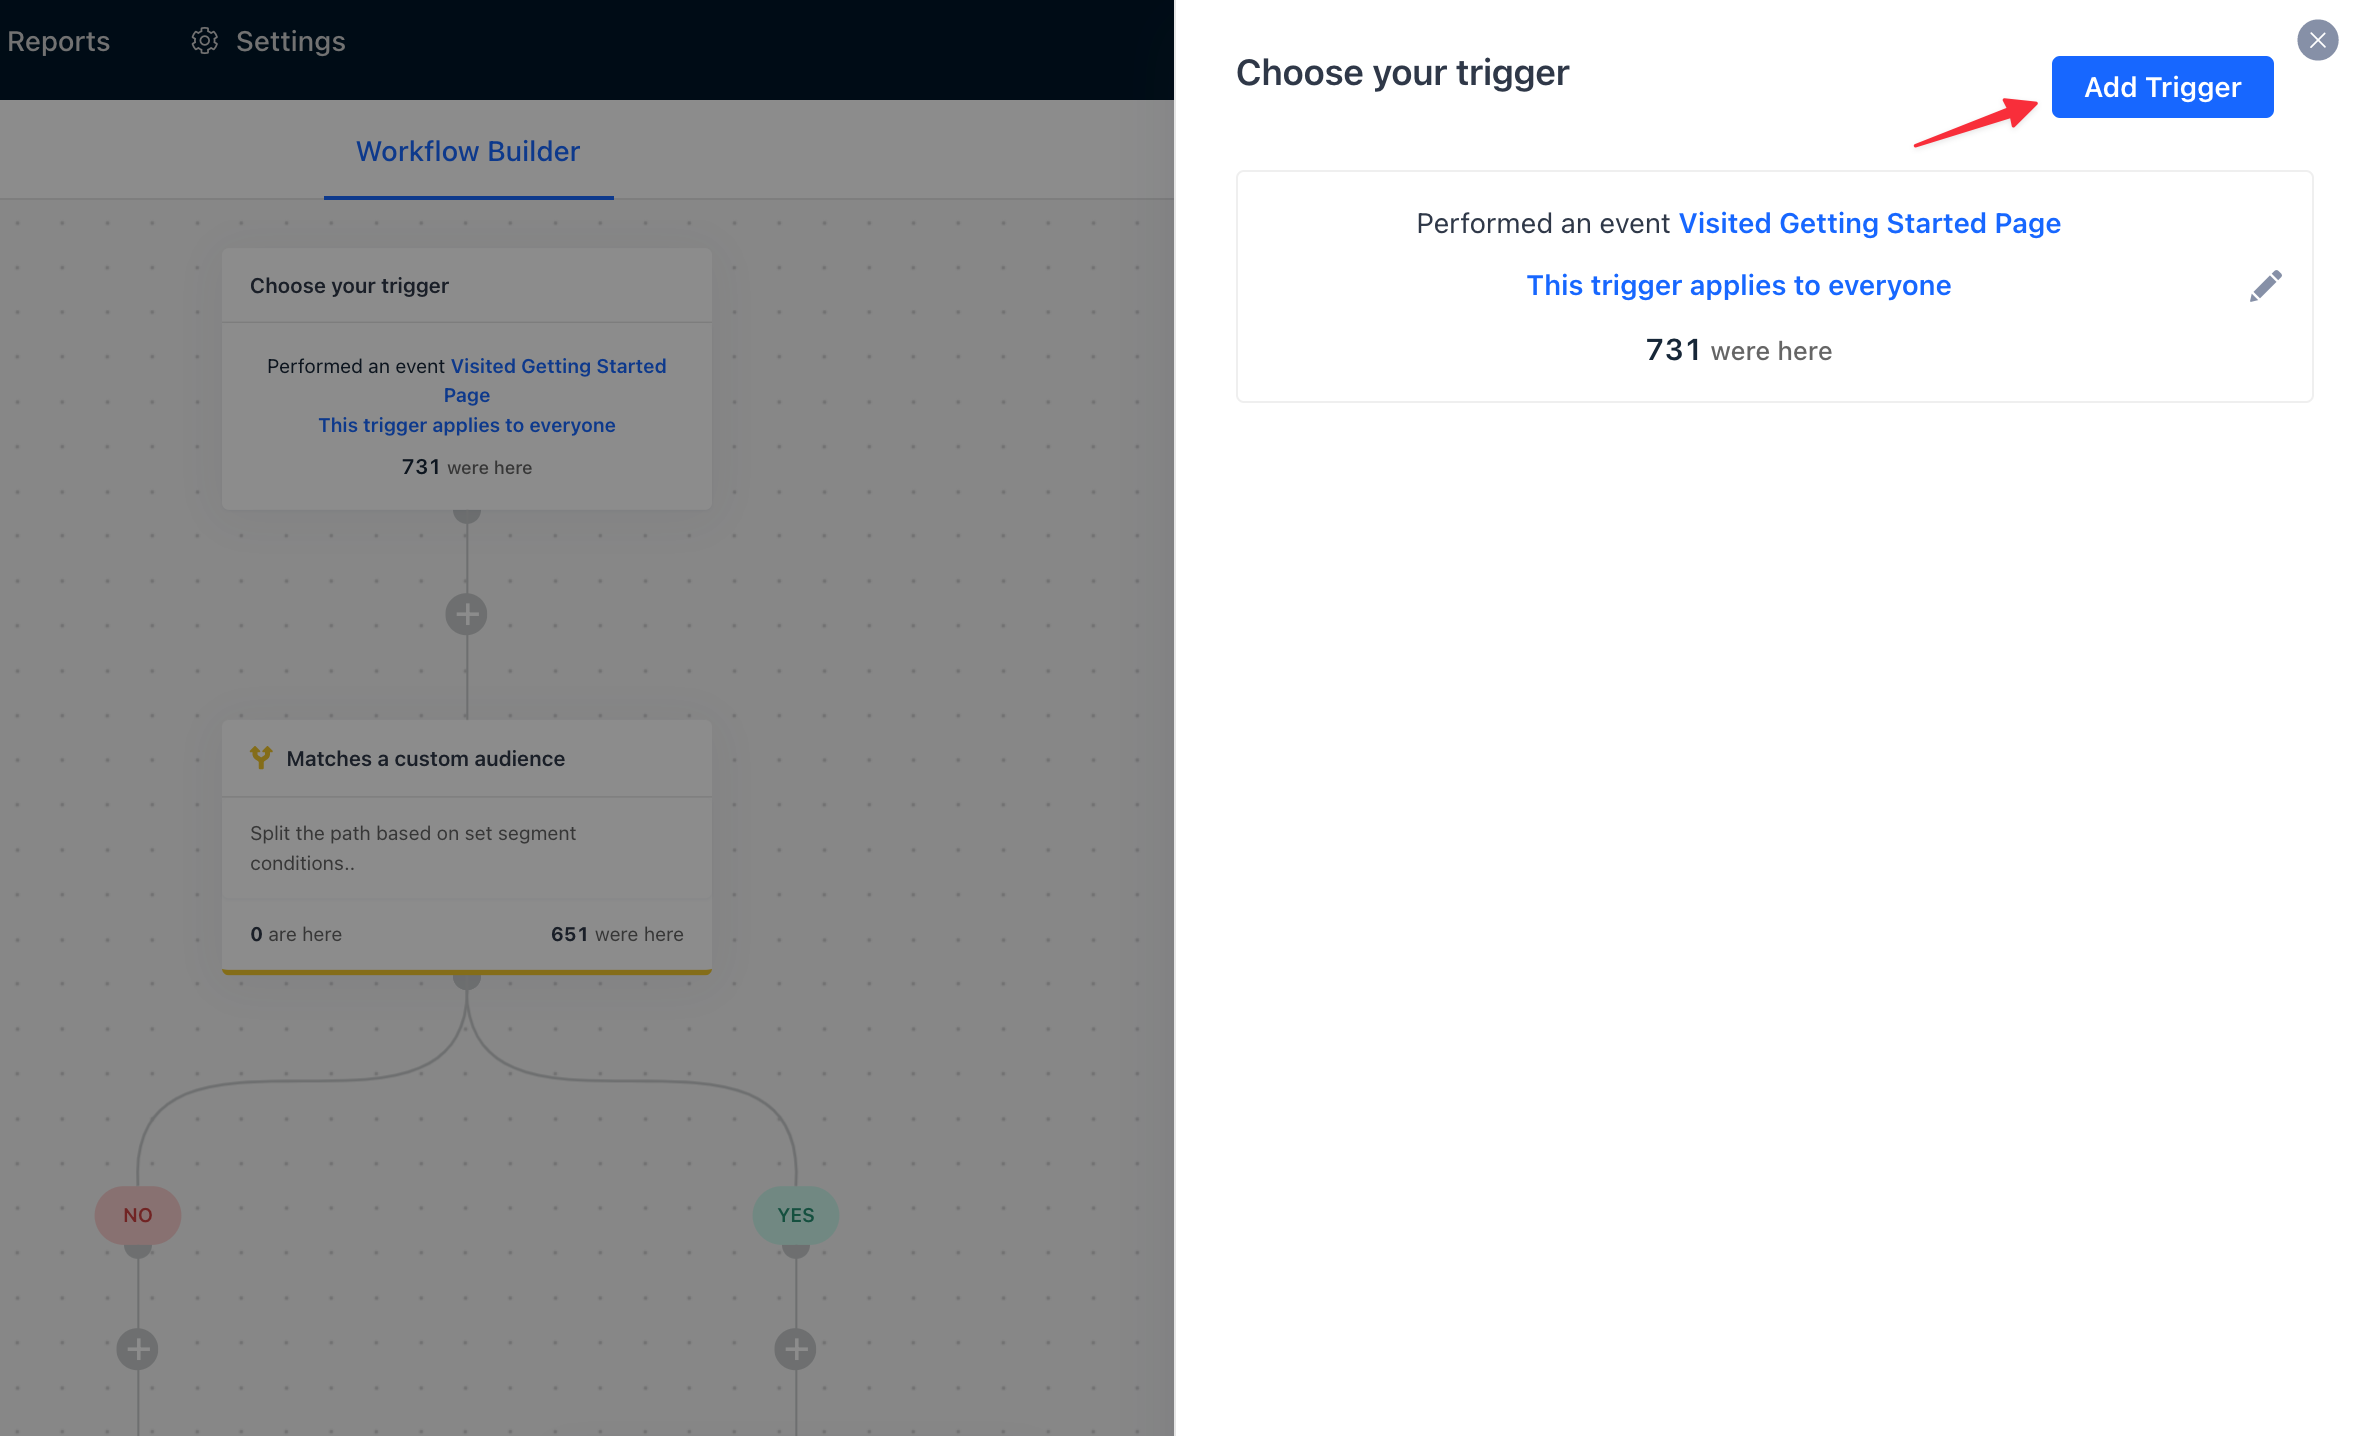
Step 2: Add an Entry Point to Your Workflow
The entry point, or trigger, is the event that initiates the automation for a contact. Gist provides a variety of triggers, including:
- Submits a form: Triggers when a contact signs up via a specific form or landing page.
- Is added to a tag: Triggers when a contact is added to a certain tag.
- Custom field: Triggers when changes occur to a contact's custom field.
- Purchase: Triggers when a contact purchases from an e-commerce store integrated with Gist.
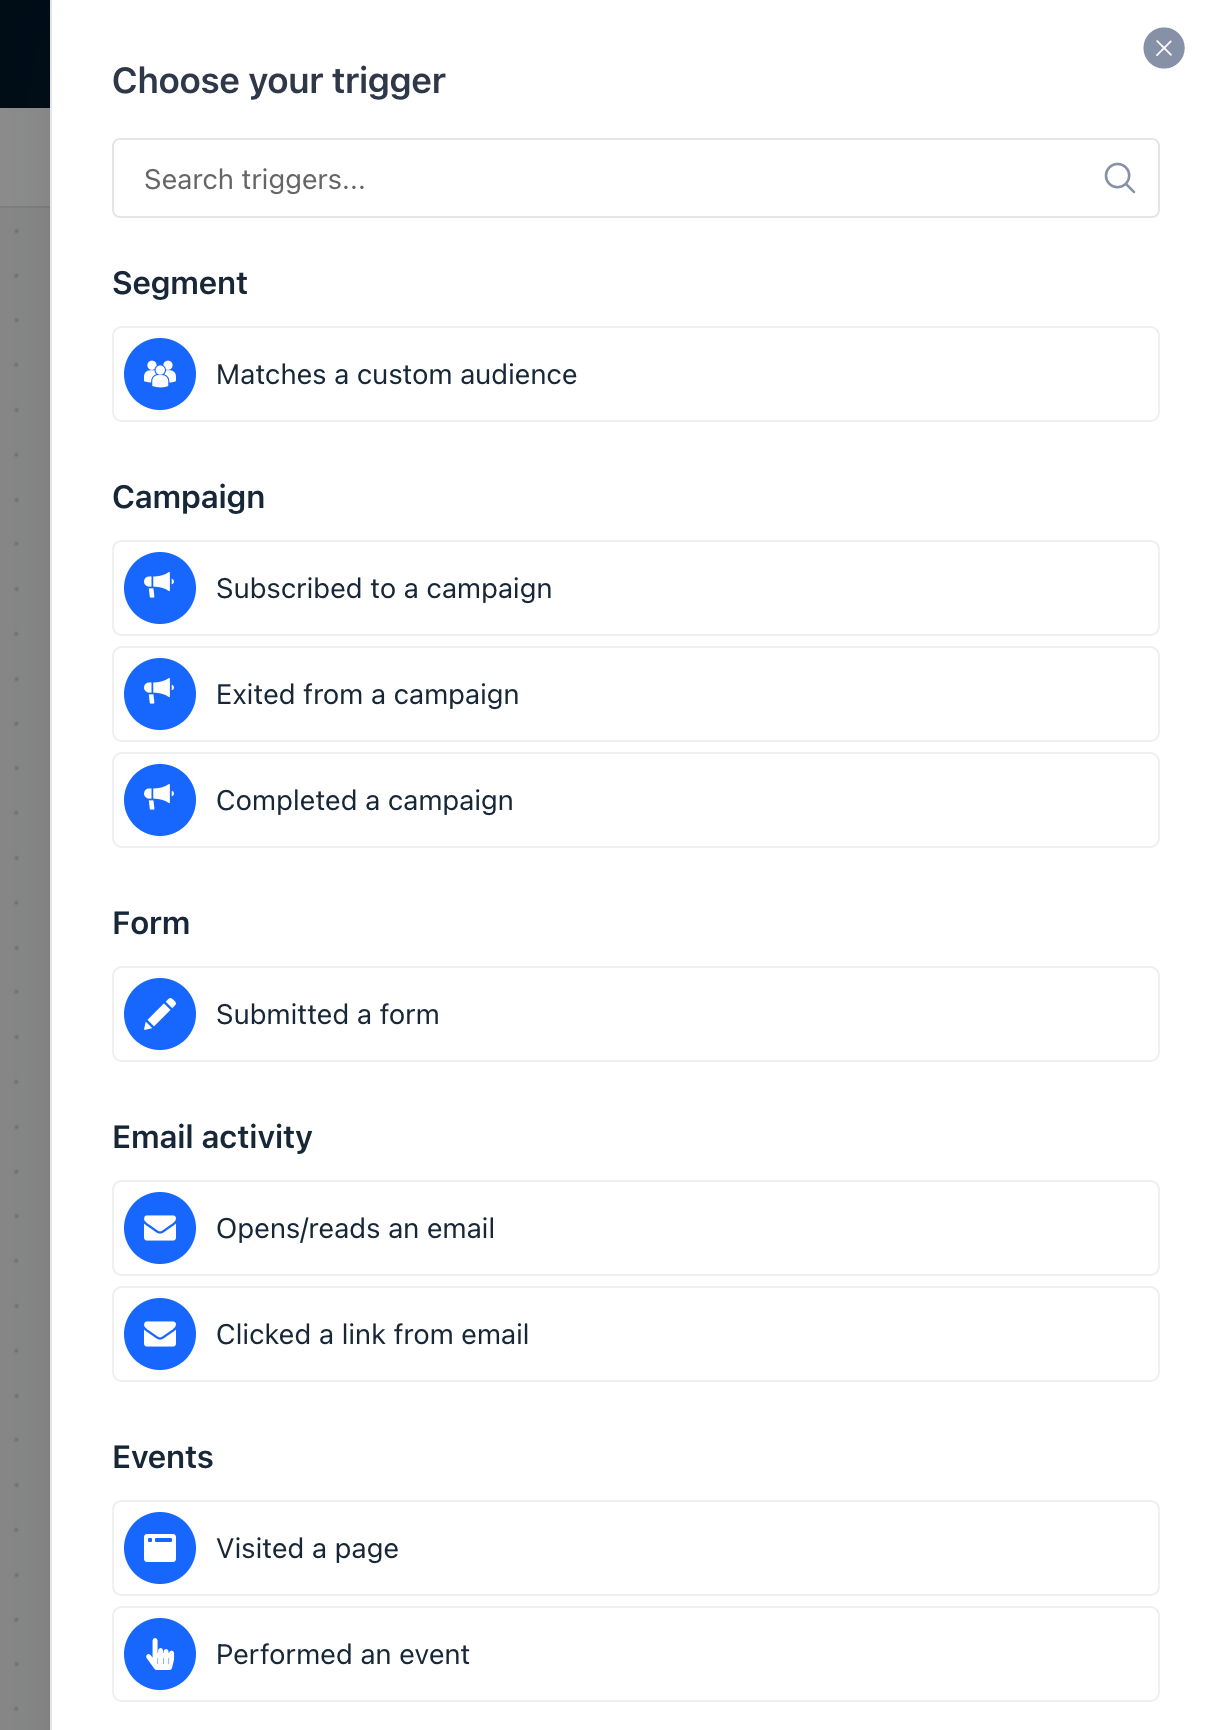
You can also add multiple entry points (up to five) to your workflow by clicking the Add Trigger button in the side panel.
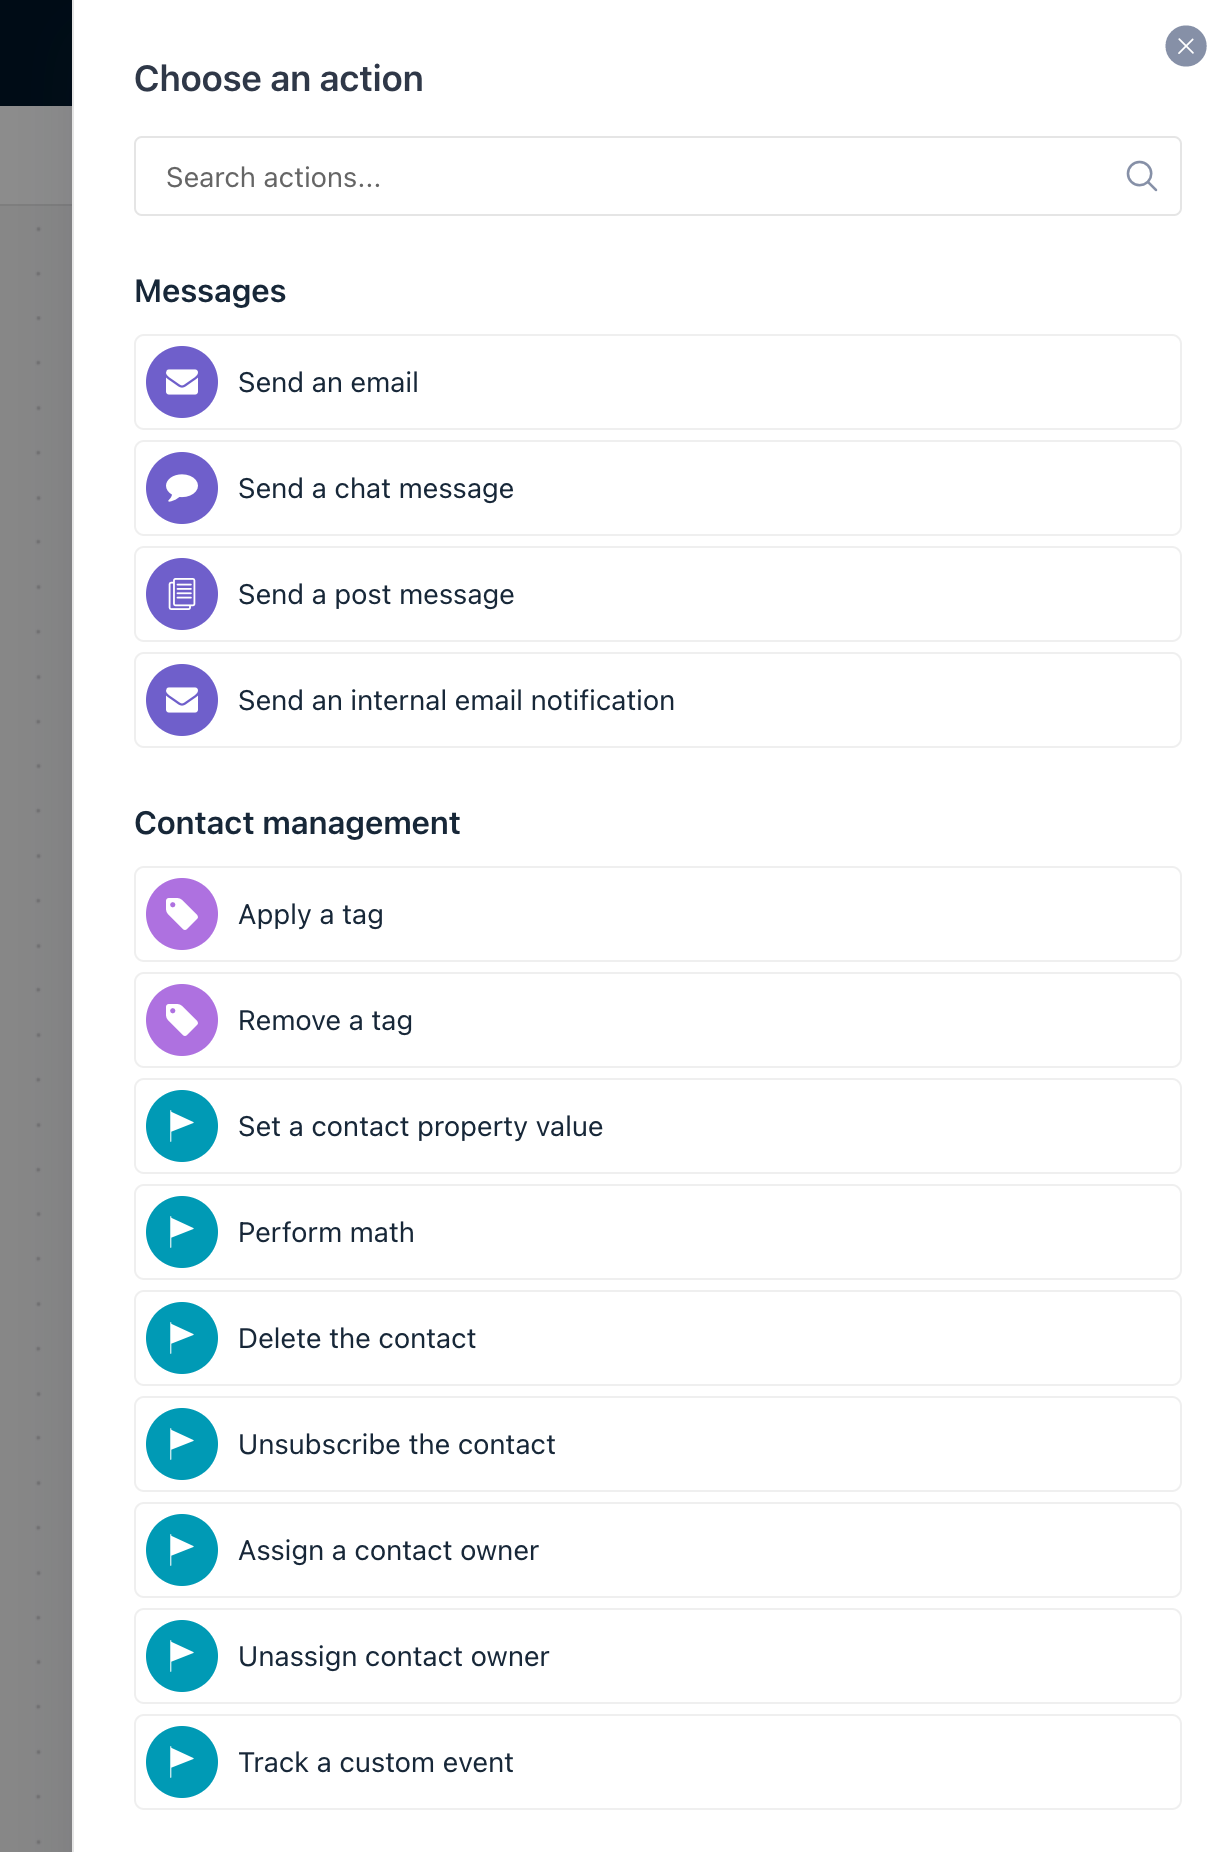
Step 3: Set Up Your Automation Steps
Click the + button below your entry point to create a new step. This step specifies what action should be taken when a contact enters the workflow. These actions and rules are found in the action side panel.
An automation step can be one of the following:
- Delay: Pauses the workflow until a specific event occurs.
- Action: Performs a specific action with the subscriber, such as adding them to an email sequence or tag.
- Condition: Checks if the contact meets certain conditions to determine their next steps in the workflow.
For example, to send a contact a series of welcome emails after they've signed up through your newsletter form, set up your automation like this:
- Add your newsletter form as the entry point.
- Set up an Action to add contacts to a welcome email sequence.
Continue to create all the steps you need for your automation to work as intended.
Step 4: Turn On Your Workflow
The final step is to activate your workflow. To do this, click the Start workflow button.
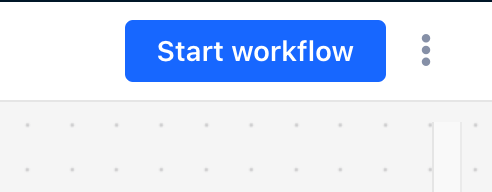
Congratulations! You've just created your first workflow in Gist!
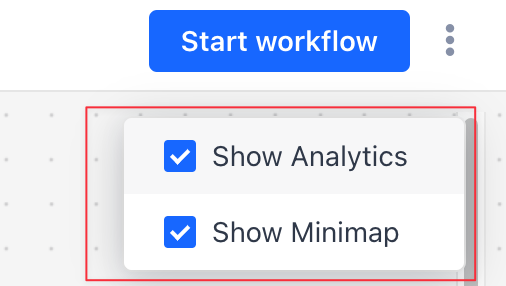
Navigating the Canvas
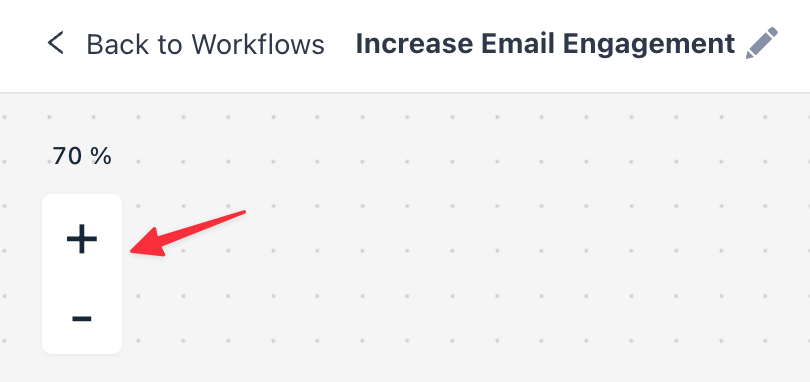
To make your workflow creation process smoother, Gist provides navigation tools at the bottom left of the Flow builder:
- Gray minus (-) sign: Zoom out
- Gray plus (+) sign: Zoom in
- Magic wand: Auto-align Flow. This automatically aligns all steps in your flow vertically. Please note that once aligned, it's not possible to undo the alignment.
- Three dotted icon: Show/hide the step analytics.
You can also use your mouse to navigate the Canvas. Click, hold, and move on an empty area on the canvas to pan around.
Creating and setting up automation workflows in Gist might seem complex at first, but with this guide and a bit of practice, you'll be able to create personalized, efficient workflows for your subscribers in no time. Happy automating!
Need Help?
If you have any further questions, please start a Live Chat. Just "Click" on the Chat Icon in the lower right corner to talk with our support team.