

Organizing articles effectively in your Knowledge Base is crucial for ensuring that users can easily find the help they need. Collections serve as the primary structure within the Knowledge Base, housing and categorizing articles. This guide provides detailed steps on creating, organizing, and managing these collections.
Create a collection
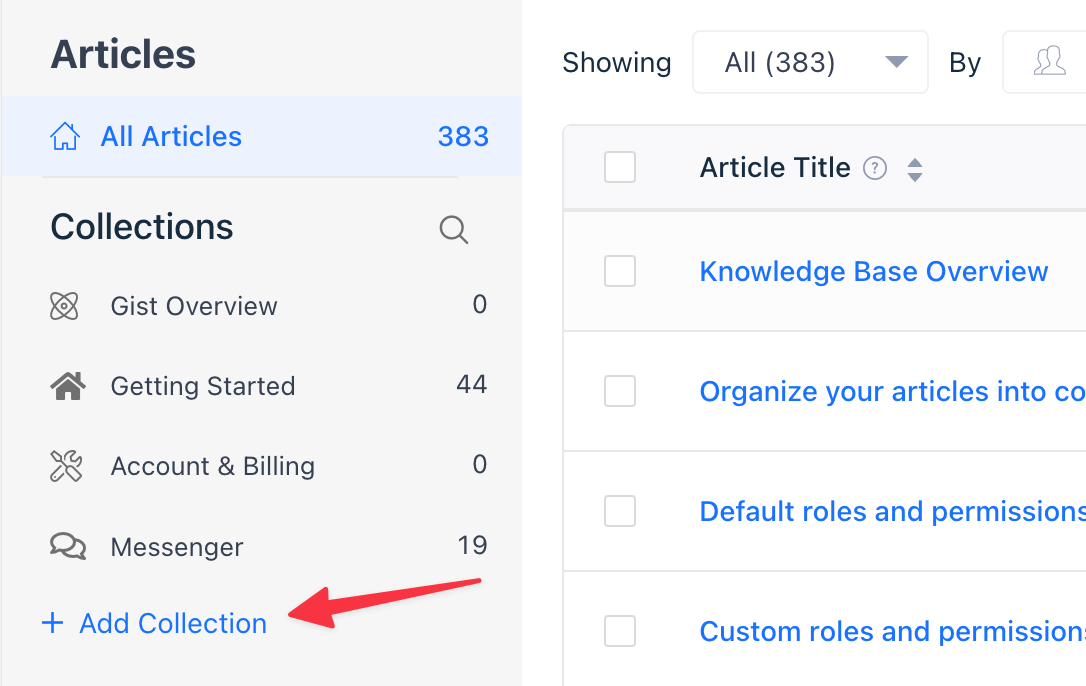
1. Begin by navigating to Support > Knowledge Base from the top navigation bar in your dashboard.

2. In the left sidebar, click on Add Collection.
3. In the modal that appears, enter a name for your collection. This name should be concise yet descriptive, reflecting the content it will contain.
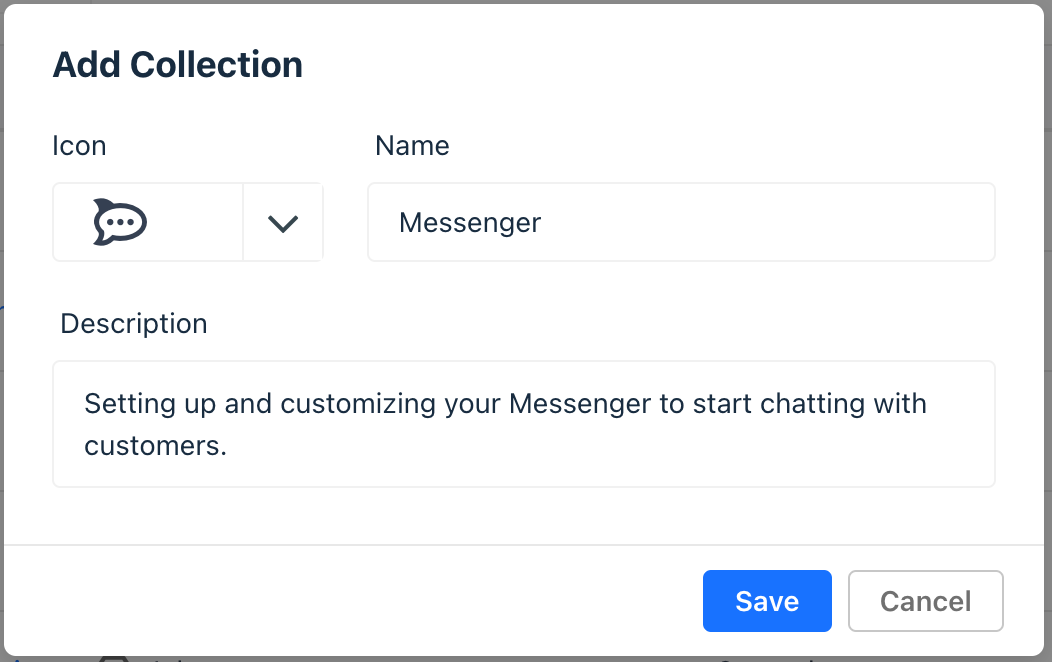
4. Choose an icon from the dropdown menu to represent your collection visually. Alternatively, you can upload a custom icon that aligns with your brand.
5. Provide a short description for your collection. This is a crucial step as it offers context to users browsing your Knowledge Base, helping them understand what each collection covers.
6. Click Save when done.
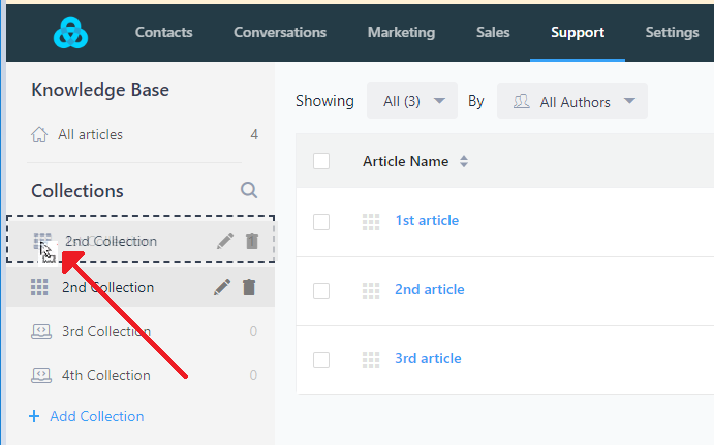
Once you have multiple collections, you can rearrange them according to your preference or logical order. Simply drag and drop the collections in the desired sequence in the left sidebar.
Delete a Collection
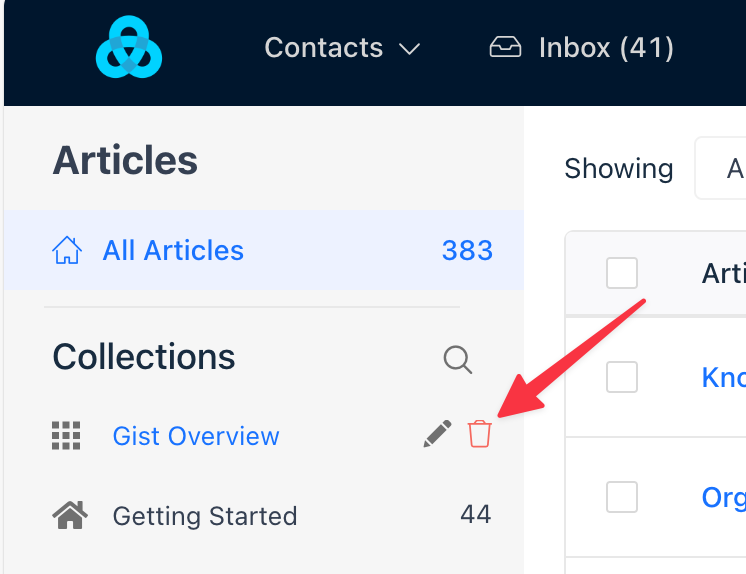
To remove an entire collection, hover over the collection you wish to delete in the left sidebar and click on the trash icon. This action will delete the collection but not the articles in it.
Move Articles between Collections
1. First, open the article you wish to move.
2. In the right sidebar of the article editor, locate the drop-down selector for collections. Choose the new collection where the article should reside.
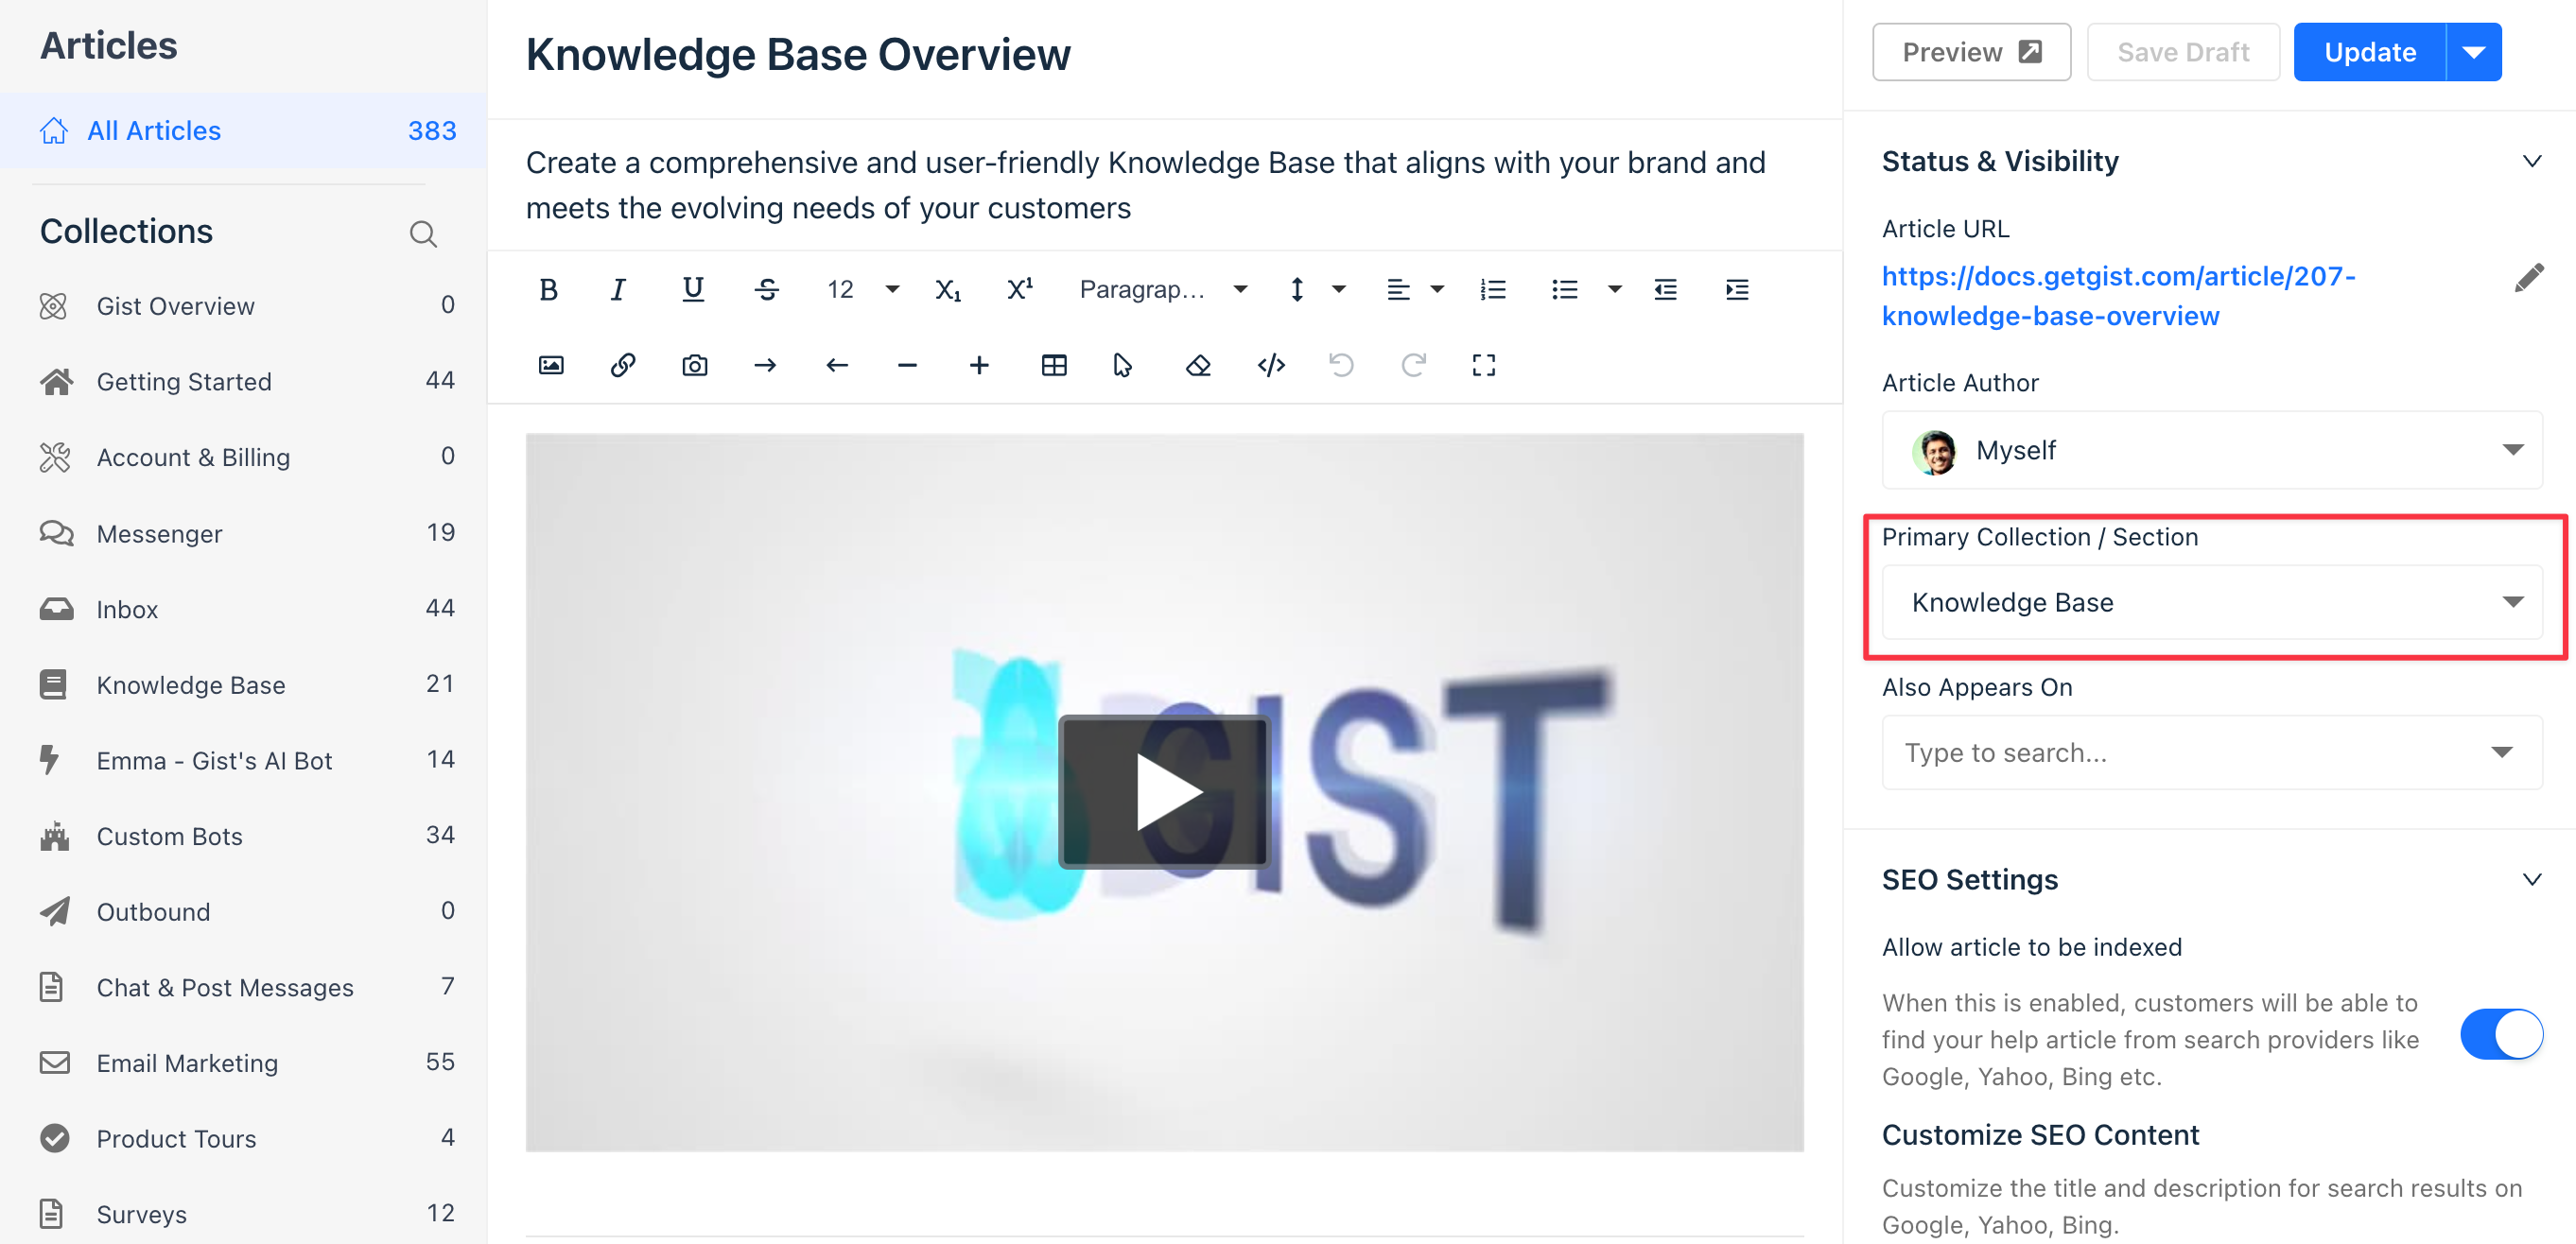
3. Click Update to save the changes after selecting the new collection.
Need Help?
If you have any further questions, please start a Live Chat. Just "Click" on the Chat Icon in the lower right corner to talk with our support team.